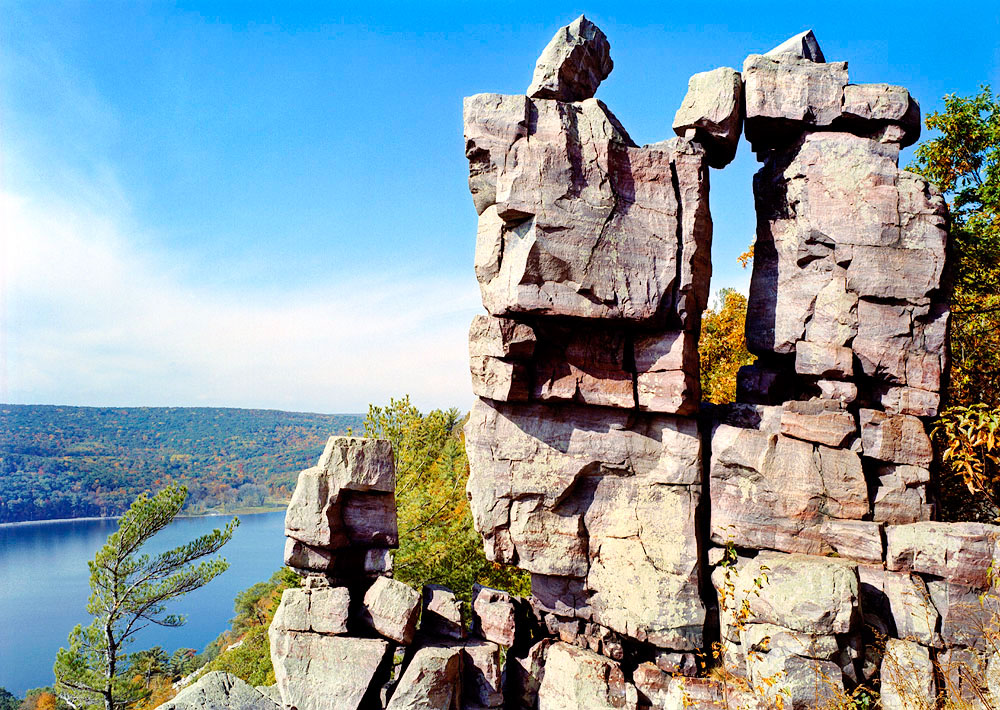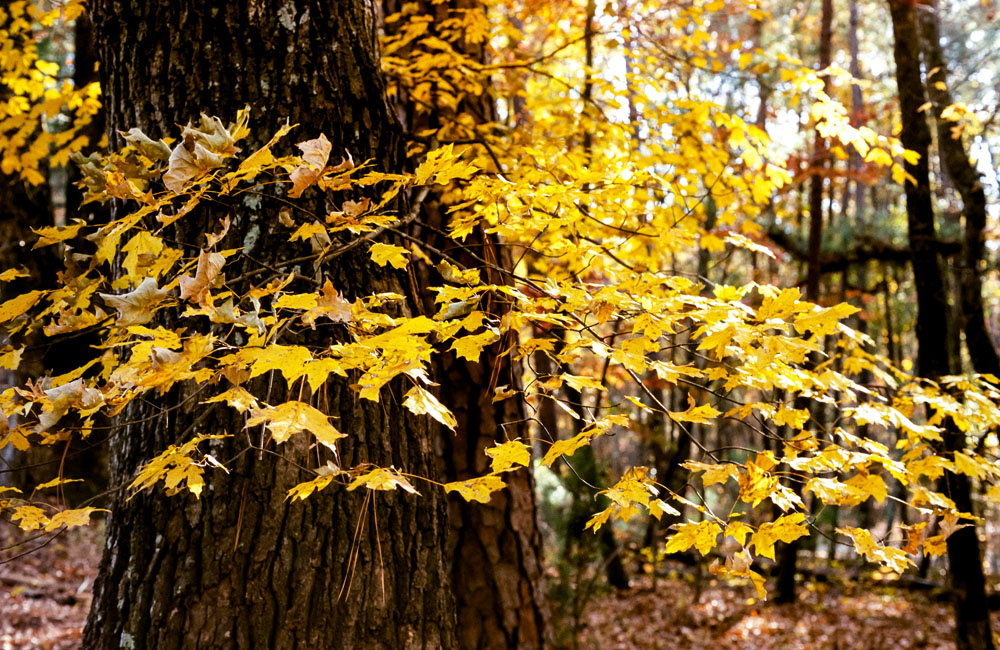
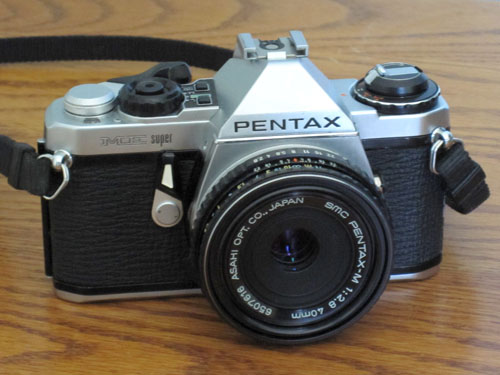
 Landscape photography has been something I’ve loved doing since I was a kid back in the late 1970s. That was an era I refer to as the “golden age” of 35mm photography. The new equipment was quite expensive back then, as it is now, and I stuck with the basic medium format gear I inherited or bought used, although I did have a 35mm camera and 2 or 3 lenses. Of course, being a gadget freak, I always wanted more of the 35mm stuff. In addition, I was well aware that with the right films and technique, the results from 35mm could be excellent. I always liked the portability and flexibility of 35mm cameras.
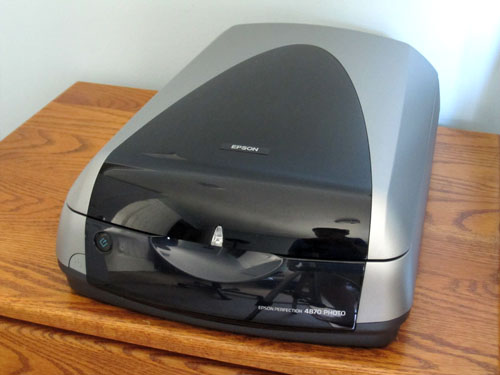
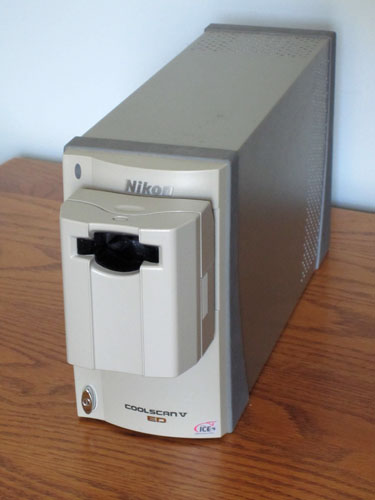
My photography sort of languished until 2002, when I discovered film scanning with the Epson 2450 and 4870, photo editing software, and the great results I could achieve through this process, especially with my medium format cameras. A few years later, I obtained a Nikon Coolscan V 35mm film scanner, and was very pleased with the results I got using Fujichrome slide films with the scanner. In addition, film and processing costs were very reasonable at the time and the processing was quick and convenient at a local camera store on my way to and from work. I started shooting a lot more 35mm, enjoyed using the cameras, and over the years have obtained oodles of used 35mm lenses, some for less than $10. I did so knowing that I could eventually use them all with the right digital camera whenever such a thing became available.
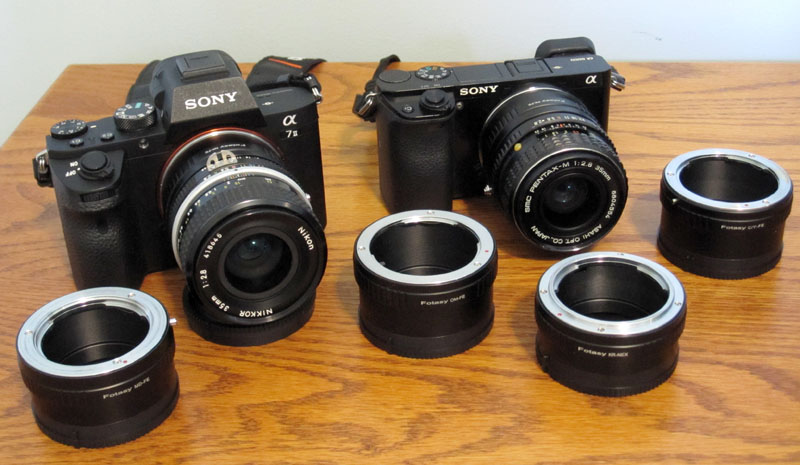
Well – that time arrived last year in 2020, as the 24mp Sony mirrorless cameras finally came onto the used market and I was able to obtain an A6000 and an A7ii for the right price. I also obtained adapters to enable the use of each and every vintage 35mm camera lens in my arsenal, then tested them all. The results were suprisingly good, as the old lenses delivered excellent results beyond my expectations, and I found that 24mp was the perfect full-frame sensor resolution for my work in general and vintage lenses in particular. I also discovered some of the minor limitations of a few of my lenses, and being aware of those issues helps me make best use of them. In general, I tend to use these lenses stopped down to f5.6, f8, or f11, depending upon where their best performance falls based on testing.
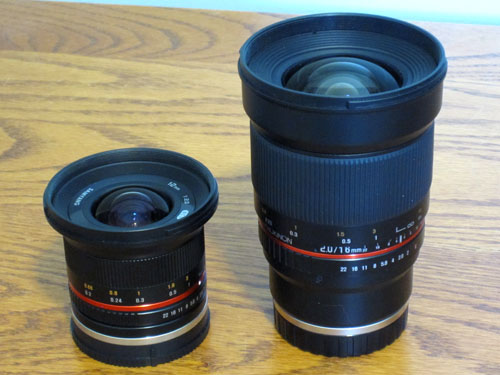 One thing I noticed with the A6000 was that the high resolution sensor (similar to 36mp with full frame) revealed imperfections with some of the vintage lenses – especially wide angles – such that a few of them were simply not suitable for use with that camera, or with a 36mp full frame camera. The OM Zuikos all the way down to 21mm proved to be excellent, however, and I decided to obtain “modern” glass for the widest angle lenses at 16mm and 12mm (Samyang/Rokinon) on the APS-C A6000, given the reasonable cost of doing so. The main attraction of doing this rather than simply relying on the A7ii for my wide angle work was the extreme depth of field with the shorter focal lengths of 16mm and 12mm versus 24mm and 18mm on full frame. This is kind of important for my style of shooting.
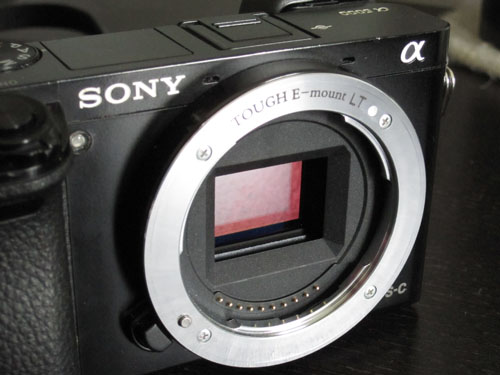 I would strongly recommend that anybody using vintage lenses with digital cameras do some testing before heading out to shoot your favorite landscape photography destinations with them. Be aware of quirks and limitations, and work around them, because even the “best” and most expensive lenses have quirks. Also, if you’re using an older Sony A6000 and are changing lenses or mounts often, it’s a good idea to replace the front lens mount flange with a “Tough E-mount LT” lens mount. These are easy to find on the web from places like B&H or Amazon for about $50. The original mount on the A6000 has some plastic parts that may not stand up well to lots of lens changing.
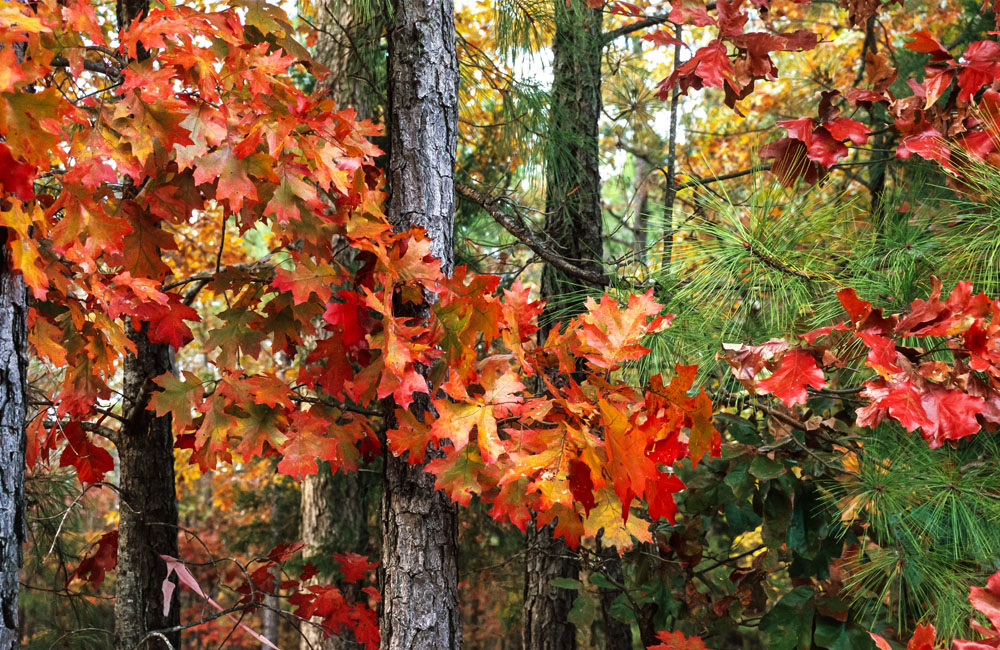
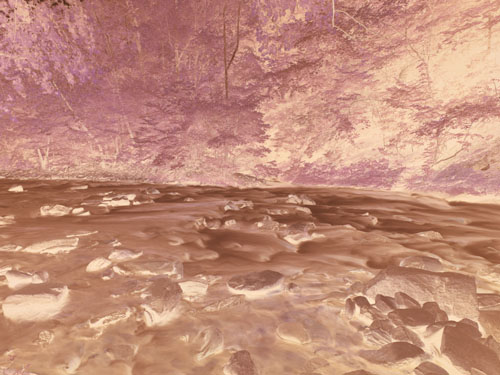
 Another important consideration with using vintage lenses on modern digital cameras is chromatic aberration. This is manifested in fringes of blue, red, purple, and/or yellow around edges in an image – such as tree branches – and especially near the corners. Some lenses exhibit a lot more of this than others. The good news is that it it easily corrected with raw files in post processing applications. This is done very easily and automatically in Lightroom, and is best done manually (for each lens) in Darktable. I’ve found that chromatic aberration doesn’t prevent me from using any of my better quality vintage lenses, and it can be a minor problem with some non-OEM lenses. Shooting in raw and doing post-processing is the best way to eliminate chromatic aberration; shooting with in-camera processed JPEG is much less effective and should be avoided when using certain vintage lenses. Again, testing will determine which ones are most problematic.
At this point, I should state my overarching philosophy with regard to using legacy or vintage 35mm film era lenses with digital cameras. First, many of those lenses, and particularly wide angles and zooms, are not suitable for use with cameras rendering more than 24mp resolution. The imperfections of the lenses start to become very apparent with the higher-resolution sensor on the A6000, which is equivalent in resolution to 36mp full frame. Second, I find that shooting in raw and doing minimal post processing with 24mp cameras will yield images that significantly exceed my printing needs. For example, a 24mp image will yield an excellent 24×36 or even 36×48 print. I have no need to exceed that, and my lenses perform well at 24mp, therefore I am going to be immensely satisfied with my current setup for years to come.
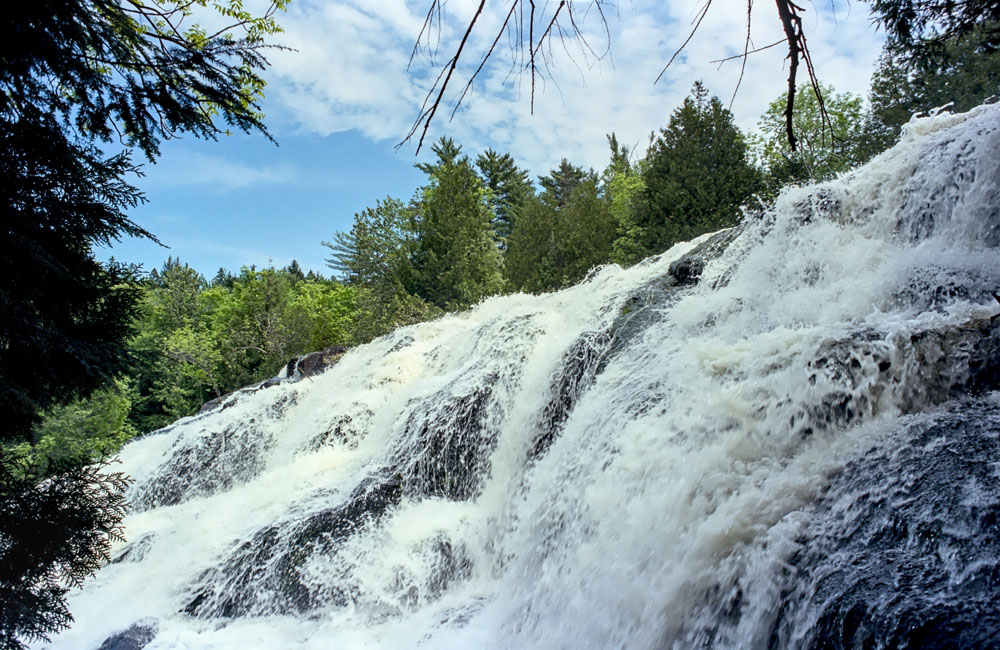
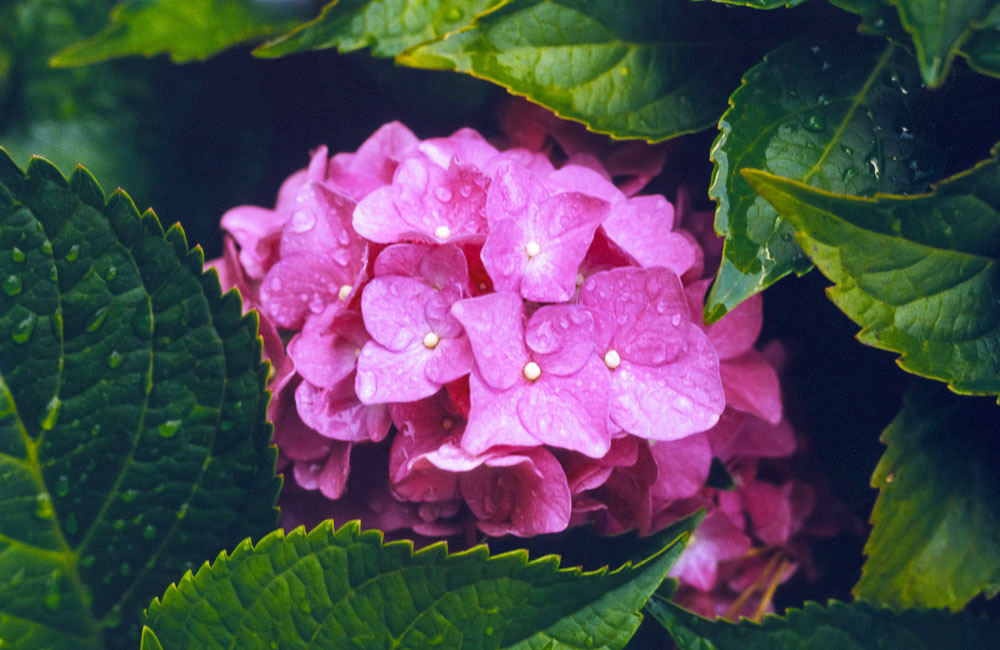
 Exposure is another key factor in the process of capturing images with any kind of camera, so I want to give special attention to that key topic. When I shoot color film, it’s always color negative film and these days that’s exclusively Kodak Ektar 100 because of the very fine grain and excellent color rendition. Using color negative film involves a certain exposure technique I have used for decades, which is basically overexposing slightly by 1/2 to 1 stop, even when there are bright highlights such as waterfalls and rapids in sunlight. Color negative film is capable of capturing a wide dynamic range, and with proper scanning and digital image processing, one can achieve both shadow and highlight detail, provided the shadows are not underexposed. The highlights will generally be OK if they are a bit overexposed, but shadow detail cannot be brought out if a negative is underexposed at all. A similar technique applies to digital photography and raw image capture.
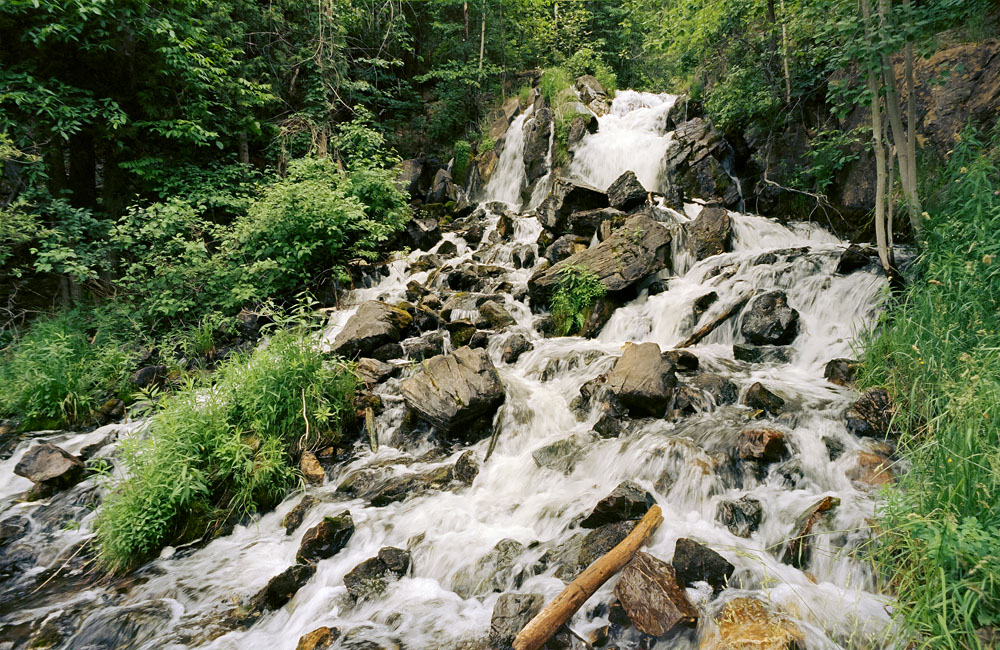
As I learned just a few months ago, it seems that modern digital camera sensors capture a dynamic range of 12-14 stops in raw mode, even more than the 9-11 stops captured with color negative film. To take maximum advantage of that dynamic range, it seems that overexposing by 1/2 to as much as 2 stops, and shooting in raw mode, enables the best retention of shadow detail while preserving highlights – after appropriate post processing. After shooting lots of photos this spring in raw mode with bright highlights, and especially Great Falls of The Potomac in bright sun, I can attest that this technique works very well. A widely-used name for the technique is “EETR” or exposing to the right side (highlight side) of the histogram.
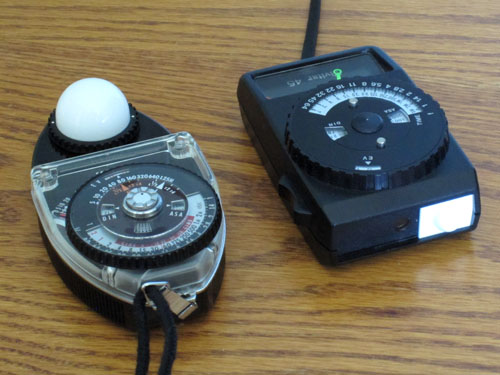 So where did I learn this? I follow a few photography websites that offer a wealth of information. One of these is PhotoPXL, and one of the posts from November 2020 provides all the information you need to know about The Optimum Digital Exposure. I really insist it is a must read for serious landscape photographers using any digital camera. I stumbled on another great resource for a similar technique applied to shooting video, also referred to as “s-log”, from Cody Blue’s YouTube video on the subject. He explains how to use it with Sony mirrorless cameras in easy-to-understand detail. Please watch the video, subscribe to the “Cody and Victoria” YouTube channel, and watch his videos on cinematic technique – equally useful for still photography. Because of these overexposure or “EETR” techniques, I rarely check my exposure on the camera screen. Good metering technique and a little experience negates the need for screen gazing. Of course, using a handheld incident light meter is an excellent way to determine proper exposure and gain confidence in your technique; it’s not an obsolete approach but that’s a topic for another post.
Finally, on the topic of exposure, I learned another important thing about the most modern digital cameras. With film, I always stuck with ISO 100 to keep grain and noise to a minimum and avoided higher speed films, which I considered a non-viable option. Using ISO 100 is generally a good approach with digital cameras as well, but not in low light situations, particularly when using vintage lenses at f5.6, f8, or f11. Why not hesitate to go to ISO 400, 800, or even 1250? After watching Mark Denny’s video Stop Using ISO 100!, I tried this on both A6000 and A7ii cameras and the results were surprising. I found that, shooting in raw mode and applying some smart noise reduction in post processing (Lightroom, Darktable, Capture One, etc.) I could easily go as far as ISO 1250 on the A7ii and ISO 640 on the A6000 without really losing anything! Please watch the video, subscribe to Mark’s YouTube channel, and watch more of his really good and informative videos.
OK – so that’s a lot of background on exposure technique, but this is essential to taking full advantage of a key benefit of using modern digital cameras. The dynamic range they can capture without blown highlights and noisy/grainy shadows far exceeds that of modern films or in-camera processed JPEG formats. This makes your shooting easier, more productive, and thus more fun, whether that involves stills or video.
In summary, I used all of the aforementioned techniques regarding vintage lenses, testing, short focal length wide angle lenses on APS-C, the same time-tested exposure technique used with color negatives, and going beyond ISO 100 on my first “big” landscape photo shoot of 2021 at Great Falls of The Potomac on April 24. I’m doing all of my post processing with Darktable, so will be reporting on that in the future as well. Thanks for reading!
TMphotosite.com is dedicated to keeping alive the art of photography as experienced through the use of vintage equipment and processes. Digital equipment and processes significantly enhance the enjoyment and efficiency of photography, making vintage equipment more useful and fun. Tim McCauley, the creator and author of TMphotosite.com, is a longtime photographer of landscapes, nature, and architecture. His photographs can be seen at pinemountainprints.com.